Installing a ceiling light yourself is a popular choice for homeowners for several key reasons, the majority of them centered around cost savings, sense of accomplishment, and scheduling flexibility.
A primary motivator is the significant cost savings. By doing it yourself, you completely avoid the labor cost for hiring a licensed electrician, which is easily a sizeable percentage of the entire project cost. You would only have to pay for replacing the light fixture and any basic tools you might need, such as a voltage tester, which can be utilized in other projects as well in the future. This makes replacing an easy light an incredibly affordable home improvement project.
In addition to the cost savings, there is plenty of personal gratification that comes with a do-it-yourself success. Having a light fixture installed through your own efforts provides a tangible result and increases your sense of self-confidence in repairing other home items. It is an excellent way of acquiring knowledge in fundamental electrical skills in a controlled environment that will enable you to complete similar small tasks around the home in the future.
But it’s always best to know your limits. While a simple replacement of a light fixture is an acceptable home fix-it endeavor, more complex work like installing a new light where there isn’t any wire, with old or broken electrical systems, or with very heavy fixtures should always be left up to a licensed professional electrician for safety and to ensure that it’s in compliance with local building codes.
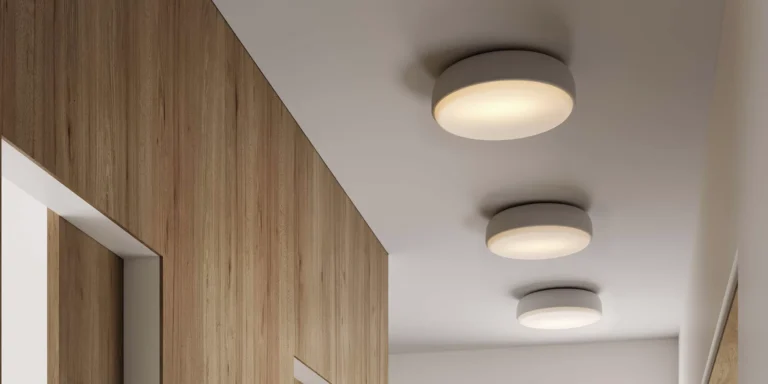
Hanging a ceiling light in a room is one of the most popular home remodeling projects that will completely change the look and feel of a space. The process can be broken down into a few main steps: preparation, removal of old fixture (if needed), and installation of new fixture. Safety is number one consideration at all times, and if you ever get uneasy, you should always have a licensed electrician involved.
Step 1: Preparation and Safety First
You must first ensure that the power is completely switched off. Switching off at the wall won’t work because there remains the chance of live electricity.
• Flip off the power at the circuit breaker: Go to your home’s main electric panel and find the circuit breaker that feeds the room you’re working in. Flip the switch to the “off” position. If your breakers aren’t marked, you can turn on available light and flip breakers one by one until the light goes off.
• Test for power: Using a non-contact voltage tester, verify that the wires inside the ceiling box are completely “dead” prior to working with them.
• Get your tools together: You’ll need a few basic tools to collect, including a screwdriver (Phillips and/or flathead), wire strippers, wire nuts, and a ladder or stable step stool.
• Consider the new fixture: When choosing your new light, make sure the size and weight are appropriate for the existing electrical box. Typical junction boxes can handle fixtures that weigh no more than 50 pounds. If your new light weighs a lot more, you may have to replace it with a heavy-duty box.
• Read the instructions: Always follow the manufacturer’s particular instructions for your new light fixture, as they may have particular demands.
Step 2: Removing the Old Fixture
In case you are replacing an existing fixture, this is the first step after confirming that the electricity supply has been cut off.
1. Remove globe and bulbs: Carefully pull out glass shades, globes, or ornaments and keep them in a safe place. Remove the light bulbs too.
2. Take down the fixture: The old fixture is probably held in place by screws or an engaged threaded nut. Disconnect these to allow you to take down the fixture from the ceiling. It may be helpful to have someone hold the fixture as you disconnect the wires, especially if it is heavy.
3. Disconnect the wires: You will see a number of wires that are connected by plastic wire nuts. There are normally three categories of wires:
- Black (or other dark color): This is the “hot” or “live” wire.
- oWhite: This is the “neutral” wire.
- Green (or bare copper): This is the “ground” wire.
- Gently untwist the wire nuts and separate the wires. Photograph or make a note of how the old wires were connected because this will be your map for the new installation.
4. Take off the mounting bracket: The previous fixture will most probably be bolted to a mounting bracket or strap, which is bolted into the ceiling box. Bolt and take off this bracket. Your new fixture will have its own.
Step 3: Installation of the New Fixture
This is where your new light comes alive.
1. Mount the new bracket: Screw the new mounting bracket that comes with your fixture into the ceiling junction box. It should be firm and wires should be threaded through the hole.
2. Strip the wires: If the wires on your ceiling box or those at the new fixture have frayed ends or stripped ends too long, use your wire stripper to cut and re-strip the insulation, exposing about 3/4 inch of copper wire.
3. Join the wires: This is the most important step. Match the wires at the new fixture with those in the ceiling box:
- Connect the black (hot) wire of the fixture to the black (hot) wire of the ceiling.
- Connect the white (neutral) wire of the fixture to the white (neutral) wire of the ceiling.
- Connect the green or bare copper (ground) wire of the fixture to the green or bare copper (ground) wire of the ceiling.
- To secure the connection, hold the two exposed wire ends in one hand and screw on a new wire nut, turning clockwise until snug. Test each wire by pulling on it lightly to ensure the connection is secure.
4. Install the fixture: Feed the wires back into the junction box carefully, without pinching them. Mount the new fixture to the mounting bracket according to the manufacturer’s instructions.
5. Put in bulbs and ornamentations: Put in the new light bulbs being careful not to go over the wattage capacity of the fixture. Install any globes or shades.
6. Restore power and test: Go back to your circuit panel, turn the breaker to the “on” position, and try your new light using the wall switch.
Important Note: This guide is for replacing an existing fixture. If you are adding a light to a location where there is no existing electrical wiring, this is a much more complex and dangerous task that requires cutting into drywall and running new electrical circuits. In this case, it is strongly recommended that you hire a professional electrician.
Mafeemushkil.com is a leading lighting store based in Dubai, UAE, offering a curated collection of modern floor lamps, ceiling lights, and home décor. We make stylish living easy with quality lighting solutions that blend elegance and affordability.